Buoy Leash - David Morris (Starvinmarvin), (idea pinched from Richi!)

Using an anchor when fishing can be a pain at the best of times, at the worst it can be plain dangerous. Over the last 12 months, I've witnessed a couple of first time kayak fishermen struggle with their anchor and end up taking a swim.
Richi was the first person to show me the Buoy Leash, a simple device that can be worn around the waist until needed, then simple clipped to the anchor trolley at one end and onto a mooring buoy or pot buoy at the other, brilliantly simple.
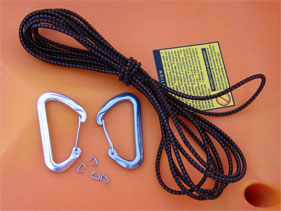
All the required components.
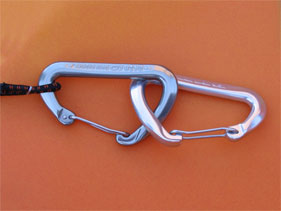
All that is required to make one is a length of shockcord, enough to go around your waist with a little to spare, thickness is not important but about the same as used for the tankwell, a pair of shockcord rings and a pair of Anodised Carabiners. I prefer to use climbing carabiners as they are a bit bigger than those from a chandler, easier to use and only a little dearer in price, have been using the DMM's for a couple of years on the anchor trolley and there are no signs of corrosion, you can also use a stainless steel ring instead of one of the carabiners, if you already have a carabiner on your anchor trolley.
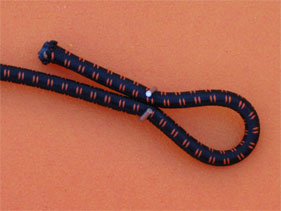
Loop in shockcord with shockcord ring attached (left).
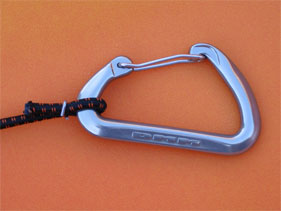
Shockcord ring attached to carabiner (right).
Form a loop in the shockcord and slip on shockcord ring, clip onto carabiner and pull up shockcord so that loop fits comfortably but not tight, leave a tag end of about 1cm.
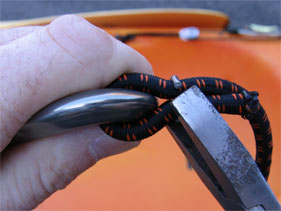
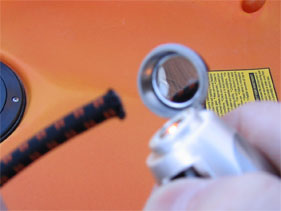
Crimping shockcord ring.
Crimp up the shockcord ring with strong pliers, or help them on their way with a hammer, getting them to start to bend shut was not easy, but once started things were much easier.
Attaching second carabiner (left), melting frayed end with cigarette lighter (right).
Attach the the carabiners to each other and wrap the shockcord around your waist, allow enough slack to accommodate your paddle gear, trim off the excess and melt the frayed end with a cigarette lighter.
The finished Buoy Leash.
Make a loop on the trimmed end of the shockcord and attach the second shockcord ring, pull up as before leaving a short tag, make sure you are happy with the length and fit around your waist and if necessary re-trim the tag end and re-melt the frayed end with a cigarette lighter.
Disclaimer:
Installing hardware may cause damage and/or void manufacturer warranties. The information we provide is a free reference guide only. The author of this information, sponsors and the owners of the website that host this information are not liable for any problems or issues that arise from the use of this information. Users of this information hereby acknowledge that all use of this information is done by their own free will, at their own sole risk, understanding that injury or death could occur.