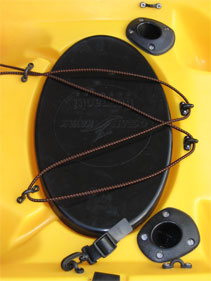
Central Cargo Net
Fittings list : 2 x Pad eyes, 2 x Plastic hooks, 8 x marine grade rivets, 1.75 metres 5 mm elasticated rope.
We decided not to use the supplied security strap when fitting our Oval Gaspachi Hatch, instead we decided to fit a Cargo Net over the hatch. Not only does it secure the large oval hatch, it also provides us with an area to secure small lure boxes, bait box etc.
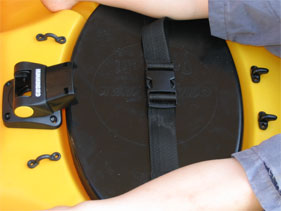
As my son or daughter are likely to be sitting in the central position it was important to ensure that the fittings were clear of their legs and would allow them to unstrap and restrap if required.
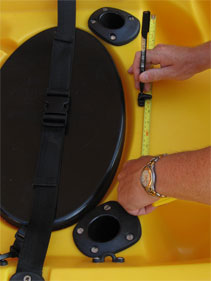
The fittings were positioned and a measurement taken to ensure everything was positioned equally.
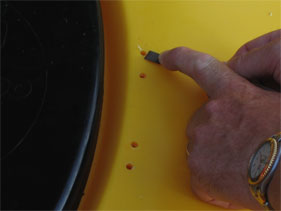
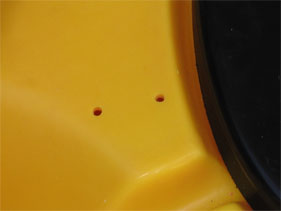
Starting with fitting the plastic hooks we measured 21.5 mm from the crease in the deck towards the centre, this was the outside edge for the first plastic hook, holding the plastic hook in place we marked the first hole and drilled. Measuring 21.5 mm from the opposite edge we marked and drilled the first hole for the second hook.
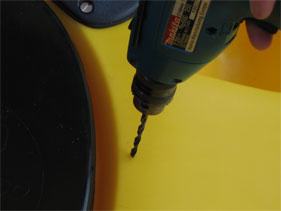
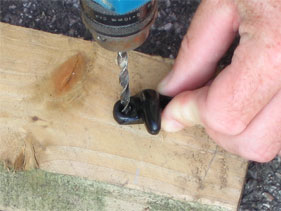
The holes in the plastic hooks are not large enough for the marine rivets that we used, so holding carefully on an old scrap of wood we drilled slowly using a 3/16" drill.
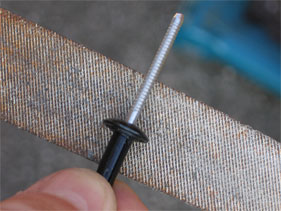
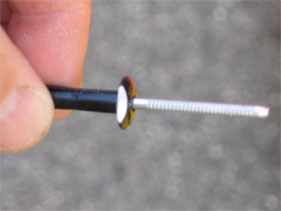
The rivets needed to be filed on one edge to sit flush against the hook. This process was repeated on four of the rivets.

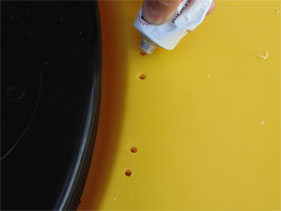
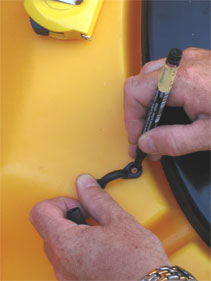
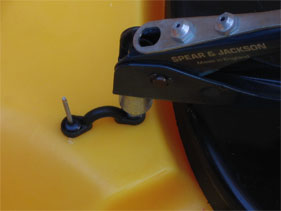
Place first rivet in each of the hooks and position on deck, do not tighten. Angle the hooks so that they align with the curvature of the hatch moulding, hold hook securely and drill second hole through hook as shown above.
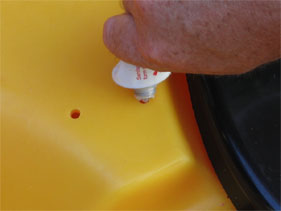
Remove plastic hooks and clean up holes with sharp blade, add a squirt of silicone sealant adhesive to each hole.
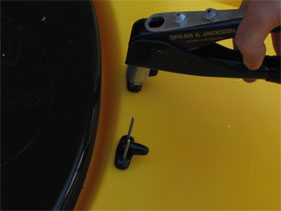
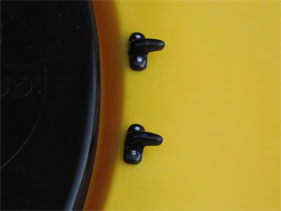
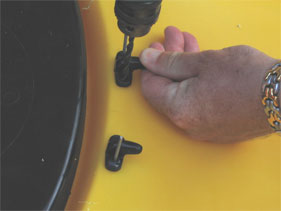
Refit both plastic hooks and insert both rivets, tighten each rivet using a rivet gun.
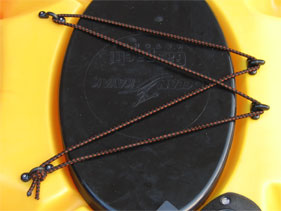
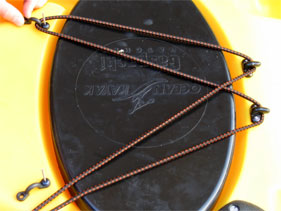
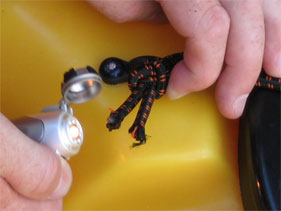
Loosely lay elasticated rope as shown above, loop around the plastic hooks, position pad eyes so that they follow the angle of the rope, measure from crease in deck to ensure symmetry. Mark first hole, drill and insert first rivet without tightening.
Check alignment and drill second hole through pad eye.
Clean up holes with sharp blade and squeeze silicone sealant into each hole.
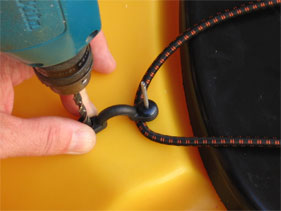
Tighten each rivet with rivet gun. Fit bungee as shown above, fit should be such that the rope is only lightly tight, secure ends with an overhand knot, pull knot tight.
Cut ends so that they are equal and melt ends with a cigarette lighter.
Disclaimer:
Installing hardware may cause damage and/or void manufacturer warranties.
The information we provide is a free reference guide only. The author of this information, sponsors and the owners of the website that host this information are not liable for any problems or issues that arise from the use of this information. Users of this information hereby acknowledge that all use of this information is done by their own free will, at their own sole risk, understanding that injury or death could occur.