Installing a Dash Mount Compass
For our Caper Project we have decided to fit a Dash Mount Style Compass, the RitchieSport X-15.
Fitting the Ritchie X-15 to the Ocean Kayak Caper presents a small problem, due to the style of the compass, a flat area of 60 mm, a mounting angle of 35° or less from the vertical plane, which must also be parallel to the centerline of the kayak is required.
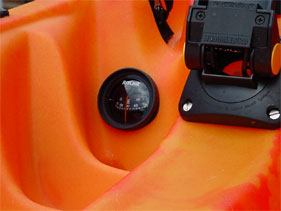
The area chosen was on the near vertical area at the hatch end of the left footwell, it's tight but possible.
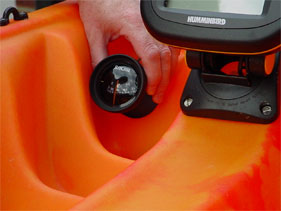
Due to the close proximity of the fishfinder, it is necessary to check for any interference (deviation). Power up the fishfinder and run through a few screens whilst holding the compass in position. The X-15, unlike other compasses in the Ritchie Navigation range, is not equipped with internal compensators, so testing before fitting is most important.
Also check the chosen position whilst sat in the cockpit, making sure that your booted foot does not obscure your view.
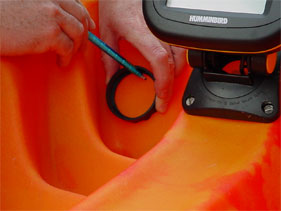
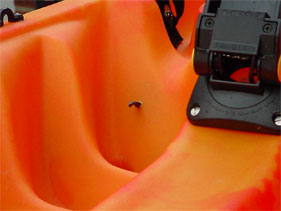
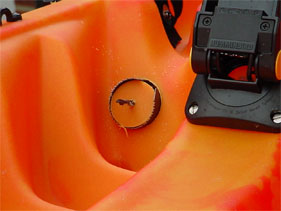
If everything proves OK, using the fixing ring as a guide, draw around the inside edge, producing a circle of approximately 52mm. At this point it is wise to check that there are no obstructions inside the hull, behind the proposed hole. By placing the compass inside the hull, you should be able to see it faintly through the hull and by aligning with the circle guide prove that you are clear of any problem areas.
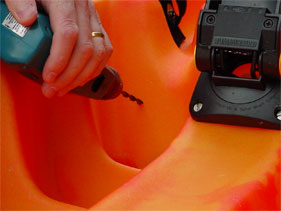
Mark the centre point of your circle. Using a drill the same size as used on your circle cutter drill a pilot hole.
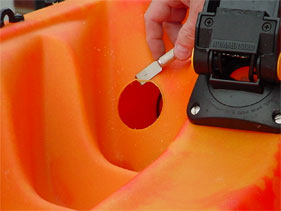
Access is limited from the outside of the hull, so using the circle cutter could prove very difficult. Cutting from the inside of the hull via the hatch and using the pilot hole as a guide may prove easier when cutting the 50 mm hole.
Remove the burr with a sharp blade or glasspaper.
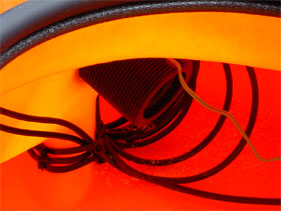
Place the supplied rubber gasket on to the compass body, feed the lighting wire through the hole in the hull first, followed by the threaded part of the compass body, this may be a tight fit, so twist/screw the compass into position.
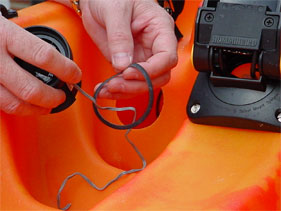

Be careful with the gasket and make sure that it is seated correctly. Also ensure that the lighting wire is running along the channel on top of the bodies threaded section.
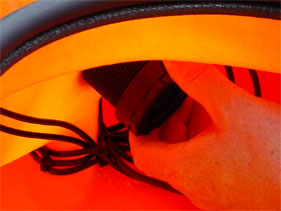
Thread the wire through the retaining ring and screw the ring onto the body, with the smooth section facing forward. Tighten lightly.
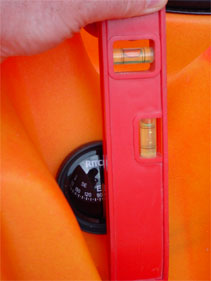
Use a spirit level to check that the kayak is level width ways.
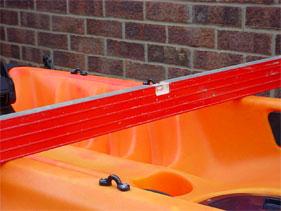
Then check that the vertical line on the compass is aligned at 90° to the horizontal.
Hold the front of the compass and screw the retaining ring up as tightly as possible. Recheck the gasket and vertical alignment.
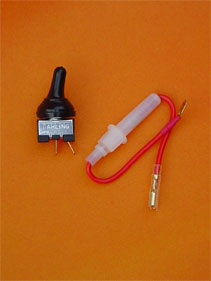
If you don't carry a battery then that's the job finished. If you do have a battery fitted, fitting a waterproof switch and a fuse holder will allow use of the built in light.
Disclaimer:
Installing hardware may cause damage and/or void manufacturer warranties. The information we provide is a free reference guide only. The author of this information, sponsors and the owners of the website that host this information are not liable for any problems or issues that arise from the use of this information. Users of this information hereby acknowledge that all use of this information is done by their own free will, at their own sole risk, understanding that injury or death could occur.