Fitting Scotty Flush Deck Mounts
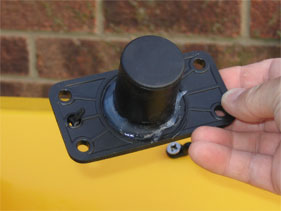
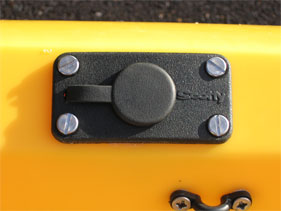
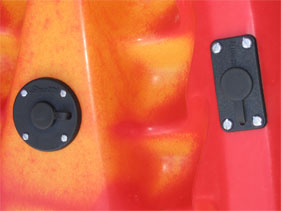
Before ordering your Scotty Rod Holders be aware that Scotty supply two versions of the Flush Deck Mount, one is sealed at the bottom the other open, all come with rubber splash cover, for kayak fishing we require the sealed bottom version to combat any leaks.

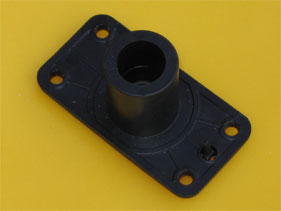
Left : sealed version of Scotty Flush Deck Mount, Right : non sealed version.
The Ocean Kayak Malibu II XL has been designed to accommodate Scotty Flush Deck Mounts and Combination Deck Mounts on the gunwales.
As our Malibu II XL project is being designed to be child friendly, placement was decided with my children sat in the front two seats; the adult sitting in the rear, giving an overall view of the children and full control of the kayak, both steering and paddling.
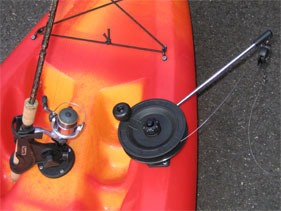
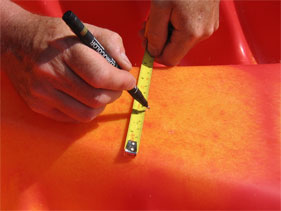
As neither is likely to be paddling when on a fishing trip, the rod holders are placed so rods are easily accessed without moving from their seats; both are right handed so the rod holders are on their right. A rod was placed in a Scotty rod holder and held in position to determine the position, the position of the flush deck mount was then marked on the gunwale with a pencil. This was repeated for both child mounts.
A further holder was placed at the rear, clear of the paddle stroke for use when two adults are out fishing, also an extra one forward of the front seat for a Scotty Laketroller Downrigger. Opposite this on the centre consul we will be fitting a Scotty Round Flush Deck Mount this will be used with a rod holder when using the Downrigger. Or as a standard rod holder when fishing with two adults.
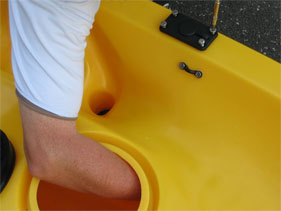
To fit the Flush Deck Mounts conventionally with bolts and nuts access will be required to the inside of the hull, therefore the hatches will need to be fitted close to where you intend to fit the Flush Deck Mounts or you need to be confident that you can reach the bottoms of the bolts, alternatively fit using wellnuts. We are fitting conventionally so all our hatches have been fitted. See Fitting a Gaspachi Hatch and Fitting a 4" Screw in Hatch for fitting instructions.
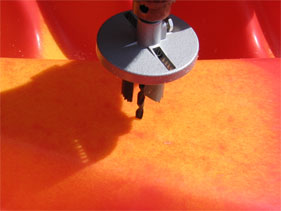
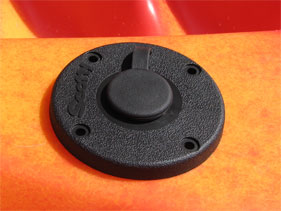
Scotty Flush Deck Mount
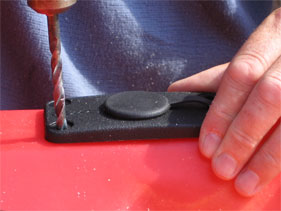
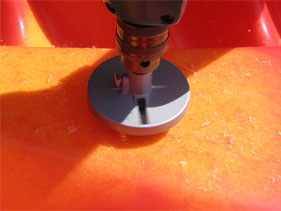
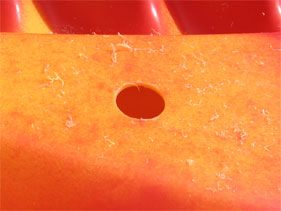
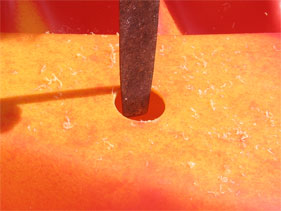
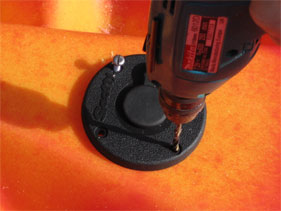
When all the positions are decided upon, mark the centre of the first mount; the mount measures 10cm long x 5cm wide. Cut the first hole using a 3.2 cm (1.25") cutter, this is slightly smaller than required 3.4 cm diameter of the Flush Deck Mount post, so a small amount of filing will be required, use a round backed file, attempt fitting the mount frequently so that a nice tight fit is accomplished.

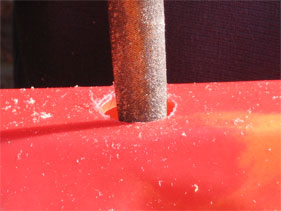
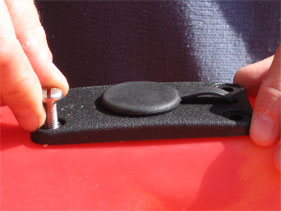
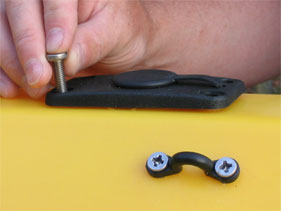
Fit the mount flush to the deck, align with the gunwale and using a 7/32 drill bit, drill the first bolt hole using the flush mount bolt hole as a guide, screw in the first bolt, a M6 25mm Pan Head, drill the opposite hole and screw in second bolt, the drill the last two holes, this will ensure a good fit with all holes aligning.
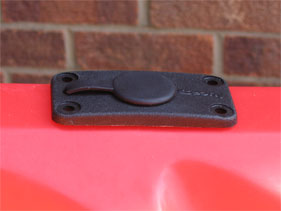
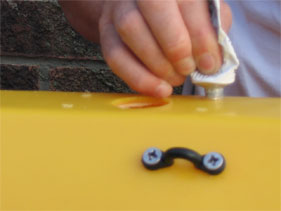
Remove the bolts and Flush Deck Mount, clean up the bolt holes with a sharp blade. Apply Sealant adhesive directly to each of the four bolt holes on the kayak and then around the post on the bottom of the Flush Deck Mount. Please note that to ensure that the rod holders are always in a safe and locked position the Scotty logo should be legible when sat onboard the kayak.
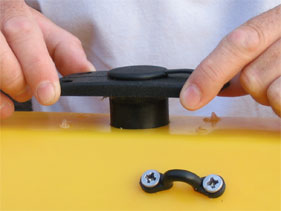
Re-insert the Flush Deck Mount and bolt down tightly, working diagonally to ensure a level fit and allowing the sealant to spread evenly, then fit washers and nuts finger tight, tighten with a socket whilst holding the screw tight from above, this is easier with a little help but not impossible alone.
Wipe any access sealant adhesive with a wet finger.
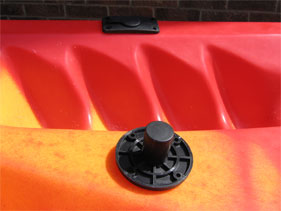
Scotty Round Flush Mount
The Scotty Round Flush Deck Mount is fitted in the same manner, we positioned slightly behind the Flush Deck Mount on the gunwale, so that the rod faces forward when using the Downrigger. Find the centre position on the centre consul and cut a hole using the same 3.2 cm hole cutter as used for the Rectangular Flush Mount. File to fit.
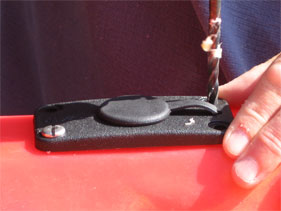
Slide mount into hole and align so that the logo is horizontal when read from the front seat, makes for a neater look. Hold securely and drill through the first bolt hole with a 11/64 drill bit, fit a M5 25 mm Pan Head bolt, drill the second hole diagonally from the first one and fit bolt, drill the last two holes; remove Round Flush Deck Mount and clean up holes with a sharp blade.
Apply sealant as before, directly to the bolt holes in kayak and around the underside mount post, insert mount and screw down evenly, fit washers and bolts and tighten with socket and screwdriver, wipe away any access sealant with a wet finger.
Disclaimer:
Installing hardware may cause damage and/or void manufacturer warranties.
The information we provide is a free reference guide only. The author of this information, sponsors and the owners of the website that host this information are not liable for any problems or issues that arise from the use of this information. Users of this information hereby acknowledge that all use of this information is done by their own free will, at their own sole risk, understanding that injury or death could occur.